Garage door openers are essential for the convenience and security of any home or business, allowing for easy access and secure closure of garage doors. Whether you are installing a new garage door opener or repairing an existing one, understanding the process can save you time and money. This comprehensive guide covers everything you need to know about garage door opener installation and repair, ensuring your garage door operates smoothly and reliably.
Choosing the right garage door opener is the first step in the installation process. There are several types of garage door openers, each with its unique advantages. Chain-drive openers are popular for their durability and affordability, making them a common choice for many homeowners. However, they can be noisy, which might not be ideal for garages adjacent to living spaces. Belt-drive openers, on the other hand, offer quieter operation and are well-suited for homes where noise is a concern. Screw-drive openers, known for their simplicity and low maintenance, are another option, although they might be less smooth in colder climates. Finally, jackshaft openers are mounted on the wall beside the garage door and are perfect for garages with limited overhead space.
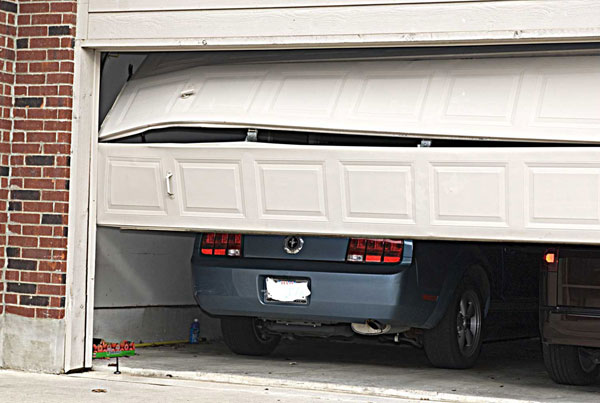
Once you’ve chosen the right garage door opener, the installation process begins. Start by gathering all necessary tools, including a power drill, screwdrivers, a level, and a tape measure. Before installation, ensure the garage door is in good working condition and properly balanced. A door that isn’t balanced can put undue strain on the opener, leading to premature failure. If the door isn’t balanced, it’s advisable to address this issue first.
Begin the installation by assembling the opener according to the manufacturer’s instructions. Most openers come with a rail that needs to be assembled first. Attach the rail to the motor unit, then install the pulley at the end of the rail. Once the rail and motor are assembled, mount the rail to the header bracket above the garage door. Ensure the rail is level to guarantee smooth operation of the door.
Next, attach the motor unit to the ceiling. This step requires precision, as the motor unit needs to be securely fastened to prevent vibrations and movement during operation. Use a stud finder to locate ceiling joists and secure the mounting bracket with lag screws. After the motor unit is securely mounted, connect the rail to the garage door. Attach the emergency release rope to the trolley, allowing manual operation of the door in case of power failure.
The final step in the installation process is wiring the opener. Most garage door openers require a power source near the motor unit. Follow the manufacturer’s instructions to connect the power cord, ensuring all connections are secure. Additionally, install any safety sensors included with the opener. These sensors are usually placed near the bottom of the door tracks and prevent the door from closing if an obstruction is detected. Proper alignment of these sensors is crucial for safety and effective operation.
Once the installation is complete, test the garage door opener to ensure it operates smoothly. Open and close the door several times, checking for any unusual noises or jerky movements. Make any necessary adjustments to the opener settings, such as the travel limits and force settings, to ensure the door opens and closes fully without straining the motor.
Repairing a garage door opener involves diagnosing and addressing various issues that can arise over time. Common problems include the door not responding to the remote, the opener making unusual noises, or the door reversing direction unexpectedly. If the opener doesn’t respond to the remote, start by checking the remote’s batteries and ensuring the opener is plugged in and receiving power. Sometimes, the issue may be as simple as reprogramming the remote or replacing the batteries.
Unusual noises from the opener can indicate several issues, such as loose hardware, worn-out parts, or a need for lubrication. Inspect the opener for any loose bolts or screws and tighten them as needed. Lubricate the moving parts, including the rail, chain, and rollers, to reduce friction and noise. If the noise persists, it may be due to worn-out components like the drive gear or sprocket, which may need replacement.
Another common issue is the door reversing direction unexpectedly. This problem is often caused by misaligned safety sensors or an obstruction in the door’s path. Check the alignment of the sensors garage door opener installation and repair and ensure they are clean and free from debris. If the sensors are properly aligned and the problem persists, inspect the door tracks and remove any obstructions.
Regular maintenance is key to preventing issues and prolonging the life of your garage door opener. Perform routine inspections of the opener and its components, looking for signs of wear and tear. Lubricate the moving parts regularly and check the balance of the garage door to reduce strain on the opener. Additionally, test the safety sensors periodically to ensure they are functioning correctly.
In conclusion, garage door opener installation and repair are essential for maintaining the convenience and security of your home or business. By choosing the right opener, following proper installation procedures, and performing regular maintenance, you can ensure your garage door operates smoothly and reliably. When issues arise, timely repair and attention to detail can prevent more significant problems and extend the life of your garage door opener. Whether you are a DIY enthusiast or prefer to hire a professional, understanding the basics of garage door opener installation and repair can save you time, money, and hassle.